
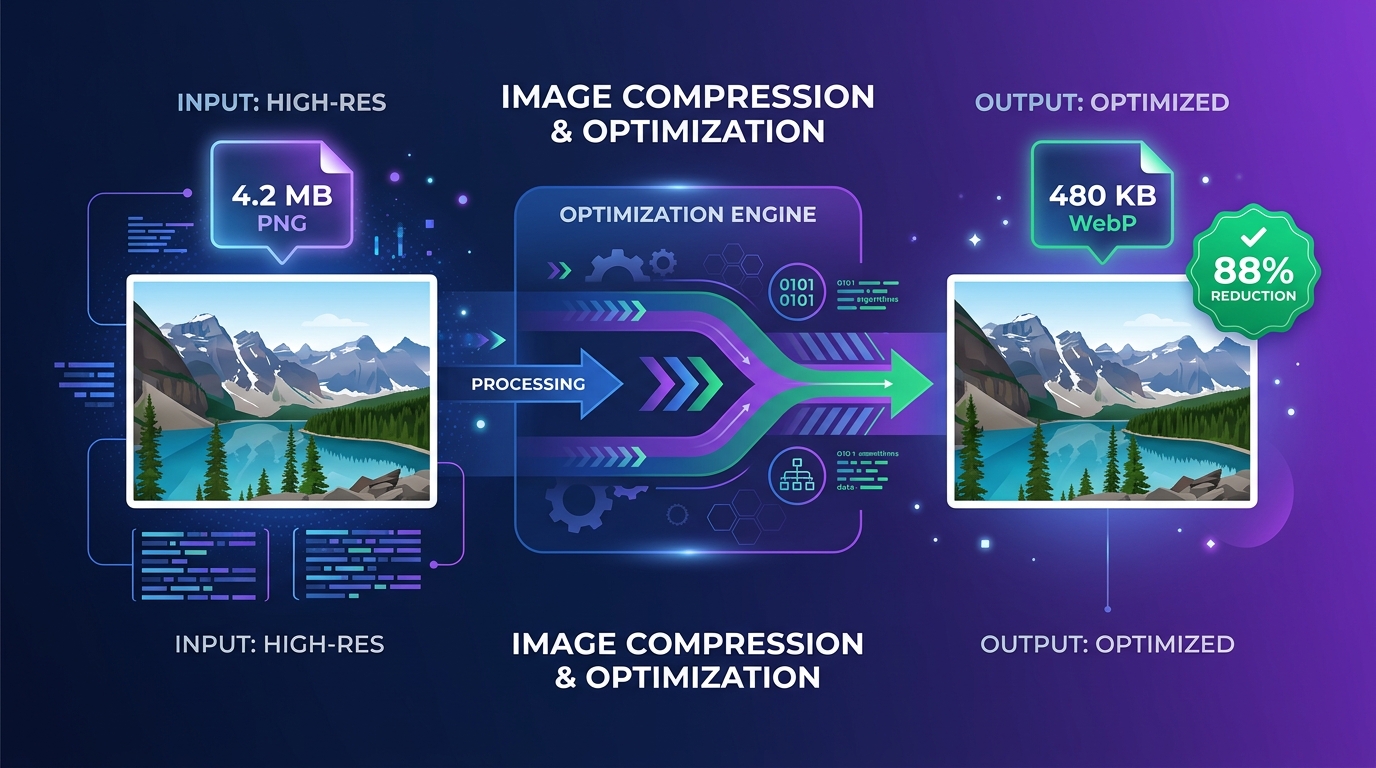
Visual media powers the modern web. From e-commerce product storefronts and editorial publications to travel blogs and social feeds, high-impact imagery drives engagement and conversions. However, modern digital cameras and mobile phones produce massive image files that can choke network connections, inflate cloud storage costs, and cause frustrating page load delays. Mastering image compression allows you to drastically reduce file sizes while preserving crisp, professional visual fidelity.
Why Image File Sizes Matter
According to HTTP Archive research, images routinely account for more than 50% to 70% of the total byte weight of a typical web page. While high-speed fiber connections can mask bulky assets on desktop computers, mobile visitors browsing over congested 4G and 5G cellular networks experience noticeable lag when loading multi-megabyte photos.
Keeping image file sizes lean offers four distinct advantages:
- Accelerated Page Speed & Lower Bounce Rates: Modern web users expect instantaneous page loads. Research from Google demonstrates that as page load times stretch from 1 to 3 seconds, the probability of a visitor bouncing increases by over 32%.
- Enhanced Core Web Vitals (SEO UX Signals): Search engines measure user experience through Core Web Vitals. Optimizing your largest images directly improves Largest Contentful Paint (LCP), helping your primary visual content render well under the recommended 2.5-second threshold.
- Bandwidth & Hosting Savings: Serving uncompressed 4 MB photos to thousands of visitors will rapidly consume hosting bandwidth quotas and inflate Content Delivery Network (CDN) egress bills.
- Meeting Attachment & Marketplace Constraints: Email providers (such as Gmail’s 25 MB cap and Outlook’s 20 MB limit) and e-commerce platforms (Amazon, Etsy, Shopify) enforce strict upload maximums that require lean, optimized file sizes.
Compress Images for Free
Reduce JPEG, PNG, and WebP file sizes by up to 80%+ directly in your browser. 100% private with zero server uploads.
What Is Image Compression?
At its core, image compression is the process of encoding digital graphic data using fewer bits than the original uncompressed representation. When you snap a photo or generate a digital render, the raw uncompressed data consists of a two-dimensional grid of pixels.
In a standard 24-bit TrueColor image, each individual pixel requires 3 bytes of storage: 1 byte (8 bits) for Red, 1 byte for Green, and 1 byte for Blue (plus an optional 4th byte for Alpha transparency in 32-bit images). A standard 12-megapixel smartphone photo (4000 × 3000 pixels) contains 12,000,000 pixels. Uncompressed, that single photograph requires:
Raw Uncompressed Size = 4,000 × 3,000 pixels × 3 bytes = 36,000,000 bytes (36 MB)Storing 36 MB for every picture would be unsustainable for mobile devices, websites, and storage drives. Compression algorithms identify repetitive data patterns and eliminate unnecessary bits, reducing that 36 MB raw canvas down to a manageable 1.5 MB JPEG or an ultra-lean 300 KB WebP file.
Dimensions vs. Resolution vs. File Size
Many beginners confuse image dimensions, resolution, and digital file weight. Clarifying these three concepts prevents common optimization blunders:
| Concept | Unit of Measurement | What It Actually Represents | Impact on Web Performance |
|---|---|---|---|
| Pixel Dimensions | Pixels (px, e.g., 1920 × 1080) | The physical grid width and height of pixels comprising the digital raster. | Directly dictates memory allocation in browser RAM. Oversized dimensions waste rendering resources. |
| Resolution / Density | PPI (Pixels Per Inch) / DPI | A print layout instruction telling printers how densely to pack pixels onto paper. | Zero impact on web performance. A 72 DPI image and a 300 DPI image with identical pixel dimensions have the exact same file size on screens. |
| File Size | Bytes, Kilobytes (KB), Megabytes (MB) | The physical storage weight required to hold the file on disk or transmit across HTTP. | Directly governs download speed, bandwidth consumption, and Time to First Contentful Paint. |
Lossy vs. Lossless Compression
Every compression algorithm falls into one of two fundamental computational categories: lossless or lossy. Understanding the trade-offs between them is essential for choosing the right approach for your media assets.
Lossless Compression
Reduces file weight by removing redundant data patterns without altering a single pixel. The decompressed image is bit-for-bit identical to the original input.
- • Algorithms: DEFLATE, LZ77, Huffman coding.
- • Quality Impact: 100% mathematical fidelity; zero blur or distortion.
- • Reduction Scope: Modest savings (typically 10% to 30%).
- • Best For: Logos, typography screenshots, line icons, technical schematics, master archives.
Lossy Compression
Permanently discards fine color variations that the human visual system is biologically incapable of perceiving under normal viewing conditions.
- • Algorithms: Discrete Cosine Transform (DCT), intra-frame prediction (WebP/AVIF).
- • Quality Impact: Controlled imperceptible variations at 75%–85% quality.
- • Reduction Scope: Massive savings (typically 50% to 90%+).
- • Best For: Photography, blog feature images, hero banners, product catalogs, social media.
The human eye contains roughly 120 million rod cells (which detect light intensity and luminance) but only 6 to 7 million cone cells (which perceive color/chrominance). Lossy compression takes advantage of this biology through chroma subsampling and psycho-visual quantization: it preserves sharp brightness boundaries while discarding microscopic color subtleties.
How to Compress Images Online with FreeToolKit
You do not need costly desktop graphics editing software to compress your pictures. FreeToolKit provides a purpose-built, browser-native Image Compressor that encodes high-efficiency WebP images directly on your device.
Open the FreeToolKit Image Compressor
Navigate to the Image Compressor tool. The tool runs directly inside your browser with zero installation, zero cookies, and no account registration.
Upload Your JPEG, PNG, or WebP Image
Drag and drop your file into the dashed upload container or click “Choose an image to compress”. The tool supports image files up to 20 MB in size and up to 40 megapixels in total canvas area.
Adjust the Quality Slider
Use the responsive slider to set your target quality between 10% and 100%. The tool defaults to a balanced 80% quality, which yields substantial byte reductions while keeping pictures virtually indistinguishable from the source.
Click “Compress image”
Hit the primary action button. Your browser’s native graphics engine draws the photo to an internal HTML5 canvas and converts it into an optimized WebP blob in milliseconds.
Review Your Savings & Visual Preview
Inspect the computed file size comparison. The tool clearly displays the output file size in KB alongside the exact percentage reduction (such as “78.4% smaller”). Review the rendered image preview to confirm crisp sharpness.
Download Your Optimized WebP Image
Click “Download WebP” to save your optimized file (named [filename]-compressed.webp) straight to your computer or mobile downloads folder.
Ready to shrink your pictures?
Experience instant, private in-browser WebP compression today.
How to Reduce Image File Size Without Noticeable Quality Loss
Achieving the ideal balance between low file weight and high aesthetic appeal requires following established image optimization workflows:
Compressing at 95%–100% creates unnecessarily bloated files. Conversely, dropping below 65% introduces visible blurring and pixel artifacts. A setting between 75% and 85% discards approximately 70% to 85% of redundant byte weight without humanly perceptible loss.
Never serve a 6000 × 4000 camera photo inside an 800-pixel blog content container. Downscaling the image dimensions to match the maximum rendered container width yields instant 75%+ byte reductions before compression algorithms even begin.
Repeatedly opening, editing, and saving a lossy JPEG file triggers generation loss. Each successive save compounds quantization errors, eroding edge sharpness. Always compress once from your original uncompressed master.
Lossy compression is mathematically irreversible. Keep your RAW or high-resolution source files safely backed up in cold storage. Only deploy compressed assets to web servers, email, and social networks.
Realistic Expectations
Not every image can be reduced dramatically without quality loss. Highly complex, noisy imagery (such as dense gravel textures or star fields) contains less mathematical redundancy than smooth portraits or minimal illustrations. Always inspect your output preview at 100% zoom.
Understanding Image Formats: JPG, PNG, WebP, AVIF & GIF
Choosing the wrong file container is one of the most common reasons for bloated web pages. Different formats were engineered for vastly different visual paradigms:
Image Format Comparison Table
| Format | Compression Type | Transparency | Animation | Typical Use Cases | Best Situation to Choose |
|---|---|---|---|---|---|
| JPEG / JPG | Lossy (DCT) | No | No | Photographs, realistic art, rich gradients | Universal compatibility with legacy devices, printers, and old software. |
| PNG | Lossless (DEFLATE) | Yes (Alpha channel) | No (APNG rare) | Logos, UI icons, sharp text screenshots | When crisp pixel perfection or transparent backgrounds are non-negotiable. |
| WebP | Both Lossy & Lossless | Yes (Alpha channel) | Yes | Modern websites, blog banners, web apps | Best general-purpose web format. 25%–35% smaller than JPEG at equal fidelity. |
| AVIF | Next-Gen (AV1 Intra) | Yes (Alpha channel) | Yes | Modern mobile apps, progressive web builds | Ultra-low bitrates where maximum compression efficiency is required on modern browsers. |
| GIF | Lossless (LZW 8-bit) | Boolean (1-bit only) | Yes | Legacy short animated reaction clips | Largely obsolete. Animated WebP or modern HTML5 MP4 video is 80%+ smaller. |
Note: The FreeToolKit Image Compressor accepts JPEG, PNG, and WebP input files and outputs lightweight, universally compatible modern WebP assets.
How to Compress Images for Websites & Performance
Web optimization requires more than running a single file through a converter. High-performance websites employ responsive image architectures to serve tailored resolutions across devices:
- Implement Responsive Breakpoints: A visitor on a 390-pixel smartphone screen should never download a 2560-pixel desktop hero banner. Use the HTML
<picture>element or thesrcsetattribute to supply small, medium, and large versions. - Define Explicit Dimensions to Prevent Layout Shift: Always include
widthandheightattributes on your<img>tags. This allows the browser to calculate aspect ratios before assets load, completely preventing Cumulative Layout Shift (CLS). - Lazy-Load Below-the-Fold Imagery: Add
loading="lazy"to all images positioned outside the initial viewport. This ensures browser bandwidth is focused entirely on rendering primary above-the-fold content first. - Balanced SEO Reality: While image compression speeds up page rendering and improves Core Web Vitals, it is one of hundreds of ranking signals. Fast loading provides an outstanding user experience, but it must be paired with high-quality content, clean technical architecture, and relevant metadata.
Common Image Compression Mistakes to Avoid
Avoid these frequent pitfalls to keep your media library fast, sharp, and easy to maintain:
1. Aggressive Overcompression
Setting compression quality down to 20%–30% creates noticeable artifacting, muddy color banding across smooth gradients, and fuzzy halos around high-contrast typography.
2. Saving Photographic Landscapes as Uncompressed PNG
PNG uses lossless algorithms that struggle to find redundant patterns in complex photographic gradients, resulting in massive 4 MB to 8 MB files that could easily be served as a 400 KB WebP file.
3. Upscaling Small Compressed Thumbnails
Taking a 400-pixel thumbnail and stretching it into a 1200-pixel hero banner forces the browser to interpolate missing data, producing blurry, pixelated mush.
4. Stripping Transparency by Converting to JPG
Standard JPEG does not support alpha channels. Converting a transparent PNG logo or badge into JPEG will fill the transparent areas with a solid white or black background box.
5. Overwriting Master Originals
Discarding your uncompressed high-resolution master file makes future print reproduction, rebranding, or high-density display updates impossible. Always save compressed files as distinct output copies.
Illustrative File Size Savings & Reduction Formulas
To understand how much storage space you can recover, use the standard mathematical formula for percentage reduction:
Percentage Reduction (%) = ((Original Size − Compressed Size) ÷ Original Size) × 100Below are representative, mathematically verified examples illustrating potential storage gains across various asset classes:
| Sample Asset | Original Size | Compressed Size | Space Saved | Percentage Reduction |
|---|---|---|---|---|
| High-Res Photo 1 | 2.0 MB | 1.0 MB | 1.0 MB | 50.0% |
| Camera RAW Export | 4.0 MB | 2.5 MB | 1.5 MB | 37.5% |
| Web Banner Graphic | 800 KB | 500 KB | 300 KB | 37.5% |
| UI App Screenshot (PNG to WebP) | 4.2 MB | 480 KB | 3.72 MB | 88.57% |
| E-Commerce Product Photo | 1.5 MB | 375 KB | 1.125 MB | 75.0% |
Important: The figures above are hypothetical illustrative examples for educational reference. Real-world compression outcomes depend on input color entropy, source format, image dimensions, and the chosen quality slider percentage.
Keep in mind that operating systems and file utilities display byte counts differently. Decimal standards (SI) define 1 MB as exactly 1,000 KB (1,000,000 bytes), while binary standards (IEC) define 1 MiB (Mebibyte) as 1,024 KiB (1,048,576 bytes). Windows File Explorer displays binary calculations labeled with decimal abbreviations.
How FreeToolKit Image Compressor Works Under the Hood
Unlike legacy cloud compressors that transmit your photos to third-party data centers, FreeToolKit is engineered with a strict browser-first privacy model:
When you select an image, our code creates a local memory pointer using URL.createObjectURL(). The image is decoded and rendered directly onto an in-memory HTML5 Canvas element. The browser’s native graphics engine executes the lossy WebP encoding using canvas.toBlob('image/webp', quality / 100).
Because all image processing occurs inside your device’s JavaScript runtime, zero image data is ever uploaded, cached, or transmitted across the network. Your personal documents, family photographs, and confidential screenshots remain entirely private on your hardware.
Conclusion & Final Recommendations
Compressing images is one of the highest-leverage optimizations you can perform for your digital presence. Whether you run an e-commerce storefront, publish an active blog, send marketing newsletters, or simply need to free up storage space on your phone, modern compression lets you slash file weights by up to 80% without noticeable quality degradation.
Remember the fundamental rules of effective image optimization:
- Always scale pixel dimensions to match your actual maximum display container.
- Choose modern formats like WebP for photographs and general web graphics.
- Aim for the 75% to 85% compression quality sweet spot.
- Retain untouched master backups of your original high-resolution files.
- Never recompress an already compressed lossy file multiple times.
Start Compressing Your Images Today
FreeToolKit’s Image Compressor delivers instantaneous, private, and powerful WebP compression directly in your web browser. No subscriptions, no uploads, and no delays.
Compress Images for Free